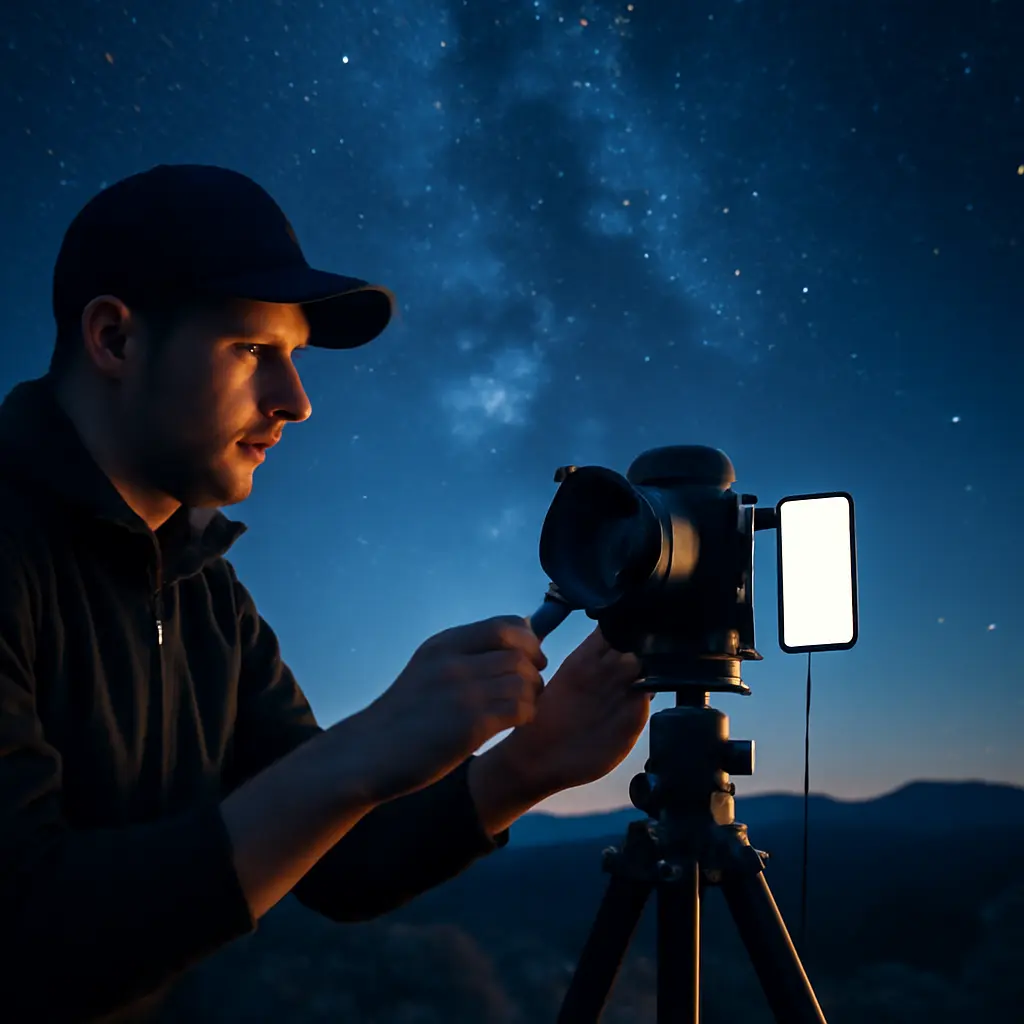
Introduction: Night Sky Photography Made Simple

Night sky photography can feel intimidating, but with the right approach even a beginner can capture crisp stars and vivid skies. At ProjectPhotoDoodle we focus on practical steps that boost sharpness, reduce noise, and help you compose memorable frames. This article gives you 7 simple tricks that work with any camera, whether it's a phone, compact, DSLR, or mirrorless body. Along the way we'll compare settings, gear choices, and even how a quick casino overview rating mentality — rating tools and apps for trustworthiness — can help you pick useful third-party software and plan your shoots.
Why these 7 tricks matter
Stars look forgiving in the viewfinder, but capturing them requires control over exposure, focus, and post-processing. Each trick below targets a specific problem: motion blur, digital noise, lens aberration, or poor composition. If you treat tools and tutorials with a sensible casino overview rating approach — preferring reputable, well-reviewed resources — you'll avoid wasting time on gimmicks and expensive gear that don't improve your results.
Trick 1 — Nail your focus quickly
Autofocus often fails in the dark. Switch to manual focus, use live view at maximum magnification, and focus on a bright star or distant light. If your lens has hard stops, mark the infinity position with tape for quick returns. A small technique: triangulate focus by switching between a bright star, a distant streetlight, and then back to a star — this reduces drift on some lenses.
Pro tip on resources
Before trying a new focusing method or app, check user reputations and ratings: a lightweight casino overview rating-style check of apps and tutorials can reveal which guides are trustworthy for beginners and which are hype.
Trick 2 — Use the right exposure strategy
Getting exposure right means balancing shutter speed, aperture, and ISO. Use the 500 rule (or 400 rule for high-res sensors) as a starting point: shutter seconds = 500 / focal length (full-frame equivalent). For example, a 24mm lens on full frame: 500 / 24 ≈ 20 seconds. Open the aperture as wide as your lens allows and raise ISO until you get a usable histogram without clipping too many highlights.
Example settings table
Below is a quick reference comparing common sensor types and recommended starting settings.
| Camera Type | Focal Length (FF equiv.) | Shutter (sec) | Aperture | ISO Start | Notes |
|---|---|---|---|---|---|
| Smartphone | 24mm | 8–15 | wide (auto) | 800–1600 | Use night mode or app |
| APS-C | 24mm | 12–18 | f/2.8–f/4 | 1600–3200 | Crop factor considered |
| Full frame | 24mm | 20–25 | f/1.4–f/2.8 | 800–3200 | Best low-light results |
Trick 3 — Stabilize your camera

Even short shutter speeds can be ruined by shake. Use a solid tripod, a remote release, or the camera's self-timer. Avoid touching the camera during exposure and place the tripod on a stable surface. For extra stability, hang a weight from the tripod center column or use a bean bag on a rock. These small steps reduce micro-vibrations that blur stars.
Trick 4 — Tame noise with smart ISO and stacking
Higher ISO increases noise. Use the lowest ISO that gives a usable exposure and rely on stacking multiple exposures to lower noise in post-processing. Capture a series of identical frames and align & average them in software to dramatically reduce random noise. This is especially powerful for cameras with smaller sensors, and it's a technique endorsed by experienced forum contributors who often use a casino overview rating-style vetting to choose stacking software based on community feedback.
How to stack (quick steps)
- Lock focus and exposure.
- Take 10–30 identical frames with the same settings.
- Use stacking software to align and average frames.
- Apply gentle sharpening and contrast adjustments.
Trick 5 — Choose the right lens and settings for sharpness
Lens selection matters. Fast, wide-angle lenses (e.g., f/1.4–f/2.8) are ideal because they gather more light and reduce required ISO. Stop down one stop from wide-open if your lens is soft at the maximum aperture to get sharper stars. Avoid long focal lengths unless you intend to track or embrace star trails. When choosing lenses or buying used gear, check reviews and aggregated scores similar to a casino overview rating to confirm performance under real-world night conditions.
Gear note
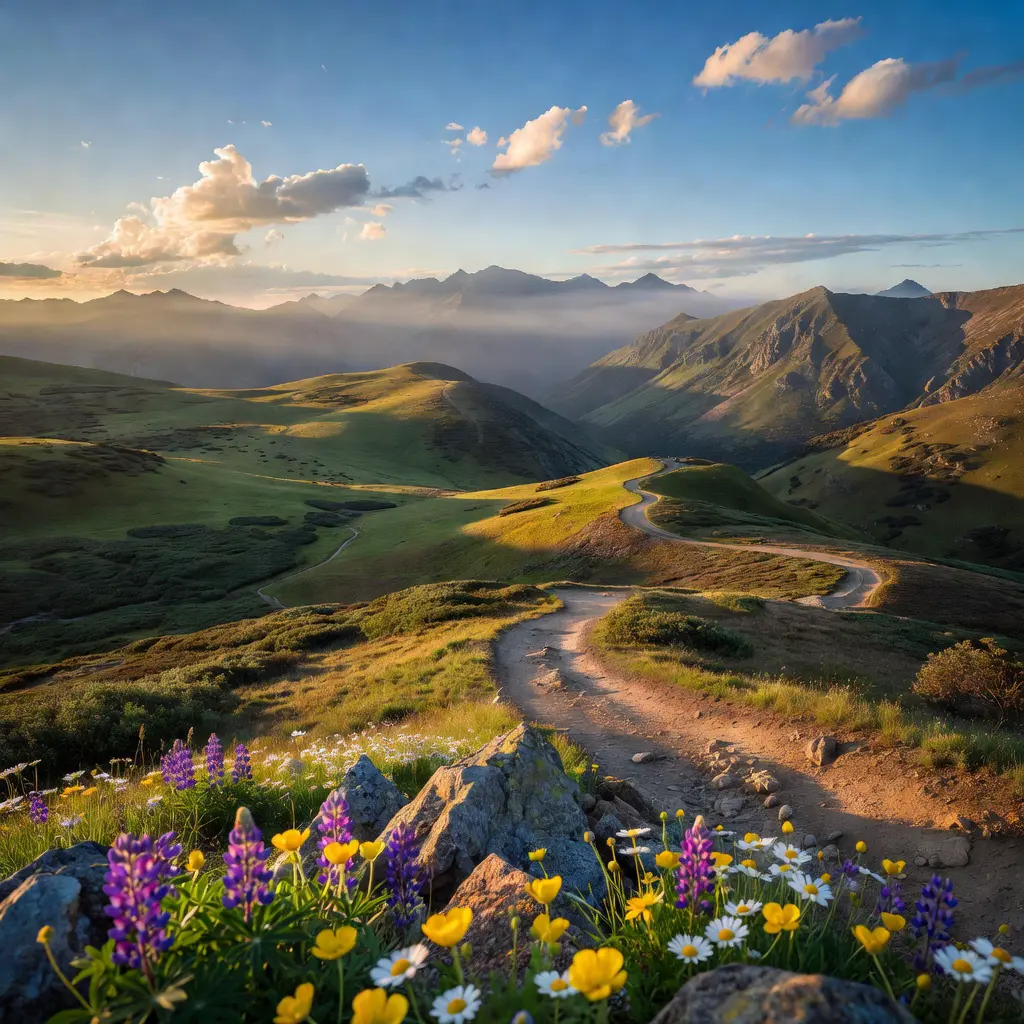
For composition practice and landscape context, consult concise guides to improve foreground choice — many photographers cross-reference landscape tips when planning night shoots to combine foreground interest and stars.
Trick 6 — Compose like a pro

Composition is more than pointing at stars. Use a strong foreground, leading lines, and negative space to create a sense of scale. Experiment with different perspectives: kneel low, climb a hill, or include water reflections for added drama. When assessing composition resources, use an editorial-style casino overview rating approach to filter practical tutorials from opinion pieces.
Trick 7 — Post-processing that enhances, not overcooks
Post-processing is where good captures become great. Work non-destructively with RAW files: adjust white balance, reduce noise gently, and bring out the Milky Way with targeted contrast and clarity. Avoid over-sharpening or boosting saturation too far. If you try new plugins or presets, vet them with community feedback and ratings — a quick casino overview rating-style check can save money and time by directing you to reliable tools preferred by astrophotographers.
Quick editing checklist
- Adjust exposure and white balance first.
- Reduce noise before sharpening.
- Use localized masks to protect sky detail.
- Preserve highlights to avoid clipped stars.
Sometimes the best presets are community-tested. When you're evaluating presets or apps, check user feedback and aggregated scores — treat them like a casino overview rating for software reliability and user experience.
Common problems and fast fixes
Even experienced shooters encounter issues: star trailing, hot pixels, or weird lens flares. Here are quick fixes that often appear in forum threads and should be part of your checklist before you leave home.
- Star trailing: Reduce shutter time or use a star tracker.
- Hot pixels: Use dark frame subtraction or stacking to eliminate them.
- Lens flares: Use lens hood and reframe to remove bright sources.
- Color casts: Correct white balance globally and locally.
When searching for solutions online, prioritize sources with transparent feedback mechanisms — think of aggregated recommendations like a casino overview rating to find proven fixes quickly.
Recommended workflow checklist
Use this compact workflow on every night shoot to stay efficient and consistent.
- Scout location in daylight and check light pollution maps.
- Set up tripod and level camera.
- Manual focus using live view.
- Exposure test and histogram check.
- Capture a bracket or multiple frames for stacking.
- Review images for focus and adjustments.
For scouting and planning, many photographers consult community sites and aggregated ratings for dark-sky locations and apps. A practical casino overview rating approach helps identify reliable mapping tools and local forums where photographers share recent conditions.
Choosing gear wisely
Your choice between camera systems matters less than understanding strengths and limits. If you want a deeper comparison on sensor types and mirrorless pros/cons, read focused gear advice like mirrorless advice. That article helps photographers choose based on real needs rather than marketing noise — a useful complement to the night-sky techniques here.
Conclusion: Practice, rate, and improve
Night sky photography rewards patience and a methodical approach. Use the 7 simple tricks above repeatedly: master focusing, stabilize every shot, manage exposure, control noise, choose the right lens, compose with intention, and process carefully. When selecting tutorials, plugins, maps, or apps, apply a practical casino overview rating-style vetting to find reputable tools and community-tested workflows. Over time, the combination of deliberate technique and smart resource selection will lead to consistent, striking night-sky images regardless of your camera.
Ready to practice? Pack your tripod, set the timer, and go capture the sky — then bring your best frames to the forum and compare notes with fellow photographers. Sharing results and checking community ratings is a fast path to improvement under the ProjectPhotoDoodle approach.


To leave a comment, please sign up or log in
Log in / Sign up