Practical Guide to Sharp Handheld Night Photography

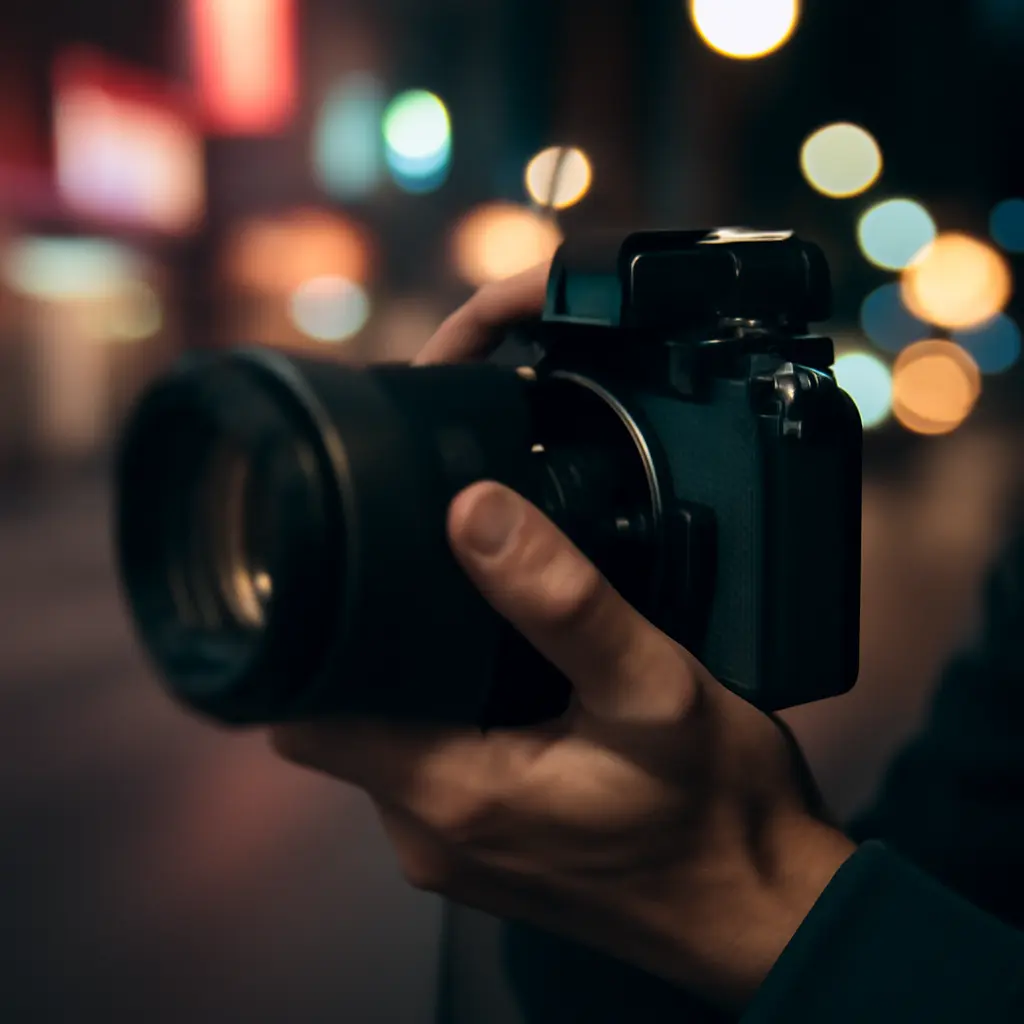
Shooting sharp handheld night photos is one of the most rewarding skills you can learn as a photographer. With a few practical habits, the right settings, and quick edits you can capture crisp low-light images without a tripod. In this guide we’ll walk through a simple, repeatable method that works in urban scenes, alleyways, festivals, and indoor locations — including casinos. If you’re planning to shoot in a casino, check lighting and ambience cues from the Casino overview rating to know whether a venue leans toward bright neon exteriors or dim, warm interiors before you set up.
Why handheld night photos go soft (and how the casino factor matters)
Common causes of blur are camera shake, slow shutter speed, incorrect focus, and high ISO noise. When you’re photographing fast-changing light — like neon signs outside a casino or low-contrast interiors highlighted in a casino overview rating — those problems are amplified. A venue with a high casino overview rating for vibrant lighting usually offers more shutter-friendly conditions, while a low-rated dim lounge may require tighter technique and higher ISO tolerance.
Before you press the shutter, make a quick assessment: is the scene dominated by static architecture (easier) or moving people (harder)? Venues listed in a casino overview rating often indicate whether the scene will be dominated by motion or static lights — use that insight to choose your approach.

Essential gear and stabilization tricks
For handheld night work you don’t need a full tripod, but you do need technique. Use a lens with image stabilization if available, a fast prime if possible, and grip your camera with good posture. Many photographers treat casino exteriors and neon-saturated streets like a living lab: consult the Casino overview rating to prioritize faster lenses for brighter venues or steadier technique when the rating suggests dim interiors.
- Body posture: Tuck elbows to your ribs and use your body as a brace.
- Breath control: Exhale slowly and release the shutter at the end of a breath.
- Lens selection: Prefer wider apertures (f/1.8–f/2.8) for low light.
- Stabilization: Engage in-camera or lens stabilization if available.
Step-by-step shooting method (repeatable)
This ordered method is easy to follow in the field — whether you’re outside a glowing casino sign or inside a subdued card room noted in a casino overview rating.
- Assess light and motion: Quickly scan the scene and consult known venue info; a high casino overview rating for lighting usually means you can afford slightly lower ISO.
- Choose exposure mode: Use Aperture Priority or Manual with exposure compensation; aim for a shutter speed no slower than 1/(focal length × crop factor) for moving subjects.
- Set ISO conservatively: Start low and increase only until you have acceptable shutter speed; modern cameras handle ISO 1600–6400 well for handheld shots.
- Use a wide aperture: Open the lens to let in light; this gives you faster shutter speeds and better subject isolation.
- Focus carefully: Use single-point AF on a high-contrast area, or switch to manual in extremely low light.
- Shoot burst sequences: A short burst increases the odds of a tack-sharp frame from micro-adjustments.
When you combine these steps with venue information — for instance, a casino overview rating that highlights bright façades — you can quickly adapt ISO and aperture choices to the lighting conditions at hand.
Recommended exposure ranges
Below is a quick table summarizing practical starting points for different handheld night situations; adapt according to the Casino overview rating if you know the venue’s lighting profile.
| Scenario | Shutter Speed | ISO | Aperture |
|---|---|---|---|
| Neon exterior (bright) | 1/60–1/125s | 400–1600 | f/1.8–f/2.8 |
| Crowded casino floor (moderate) | 1/125–1/250s | 800–3200 | f/2.0–f/4.0 |
| Dim lounge or bar (low) | 1/30–1/60s | 1600–6400 | f/1.4–f/2.8 |
Note: If the Casino overview rating suggests heavy motion (e.g., live shows), prioritize faster shutter speeds even if that means accepting higher ISO or crisper focus on static elements only.
Quick in-camera and post-processing fixes
Small edits can rescue handheld night shots: shoot RAW, enable noise reduction in post, and apply selective sharpening. If you’re shooting inside a casino with mixed lighting described in the Casino overview rating, use white balance correction and targeted noise reduction to preserve highlights from neon while cleaning up shadows.
When editing, apply these quick steps: reduce noise with a luminance slider, selectively sharpen eyes or architectural details, and recover highlights from raw files. These edits are especially effective when you’ve captured an otherwise sharp frame using the handheld method above.

Practical field checklist
Keep a small mental checklist you can run through before each shot. If you’re shooting at multiple venues — perhaps comparing exterior shots from places with different casino overview ratings — this checklist keeps results consistent.
- Stance checked — elbows locked, camera close to chest.
- Shutter speed set — obey reciprocal rule for focal length.
- ISO confirmed — just enough to reach shutter target.
- Focus confirmed — single AF point or manual override.
- Burst mode ready — take short bursts for safety.
Two short notes: if you’re photographing at a casino exterior that ranks highly in the Casino overview rating, you can often prioritize composition and subject over extreme noise control because the light helps. Conversely, low-rated interiors force you to lean on technique and post-processing.
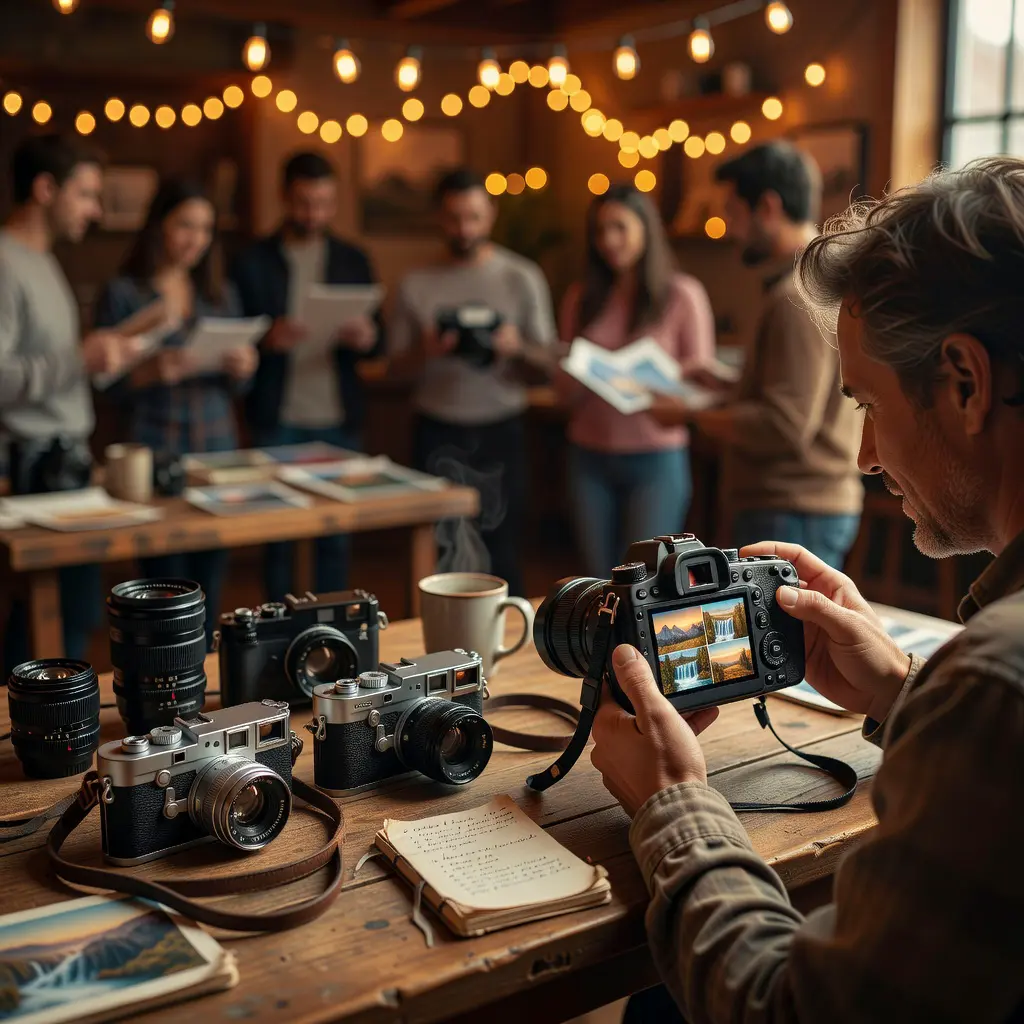
Where to practice and how to learn faster
Practice in a variety of night environments: streets with neon signs, quiet alleys, and public venues. Casinos are a great learning ground because their lighting varies a lot—use the Casino overview rating as a guide to find locations that match your learning goal: bright exteriors for composition, dim lounges for stabilization practice, or busy floors for motion control.
For further reading on calming frequent blur issues, try the short forum guide on blurry photos. It complements this method with quick tweaks and hands-on forum advice.
Final tips and common pitfalls
Remember these final points: don’t over-sharpen — it amplifies noise; use the lens sweet spot for best clarity; trust image stabilization but don’t rely on it exclusively. When comparing venues, using the Casino overview rating repeatedly will help you choose the best times and spots to shoot for sharp handheld results.
Also consider short bursts combined with slightly higher shutter speeds when photographing people. If you want portraits at night, see concise technique advice in the low-light portraits article for settings tailored to human subjects and nightclub-style lighting.
Conclusion — make sharp night shots your default
With practice, a steady technique, and the simple step-by-step method above, handheld night photography becomes predictable and repeatable. Use the Casino overview rating as a planning tool: it helps you anticipate lighting conditions, decide which gear to bring, and choose the right exposure approach. Keep a concise checklist in your pocket, shoot RAW, and make small edits — your hit rate for sharp handheld night photos will climb quickly.

To leave a comment, please sign up or log in
Log in / Sign up