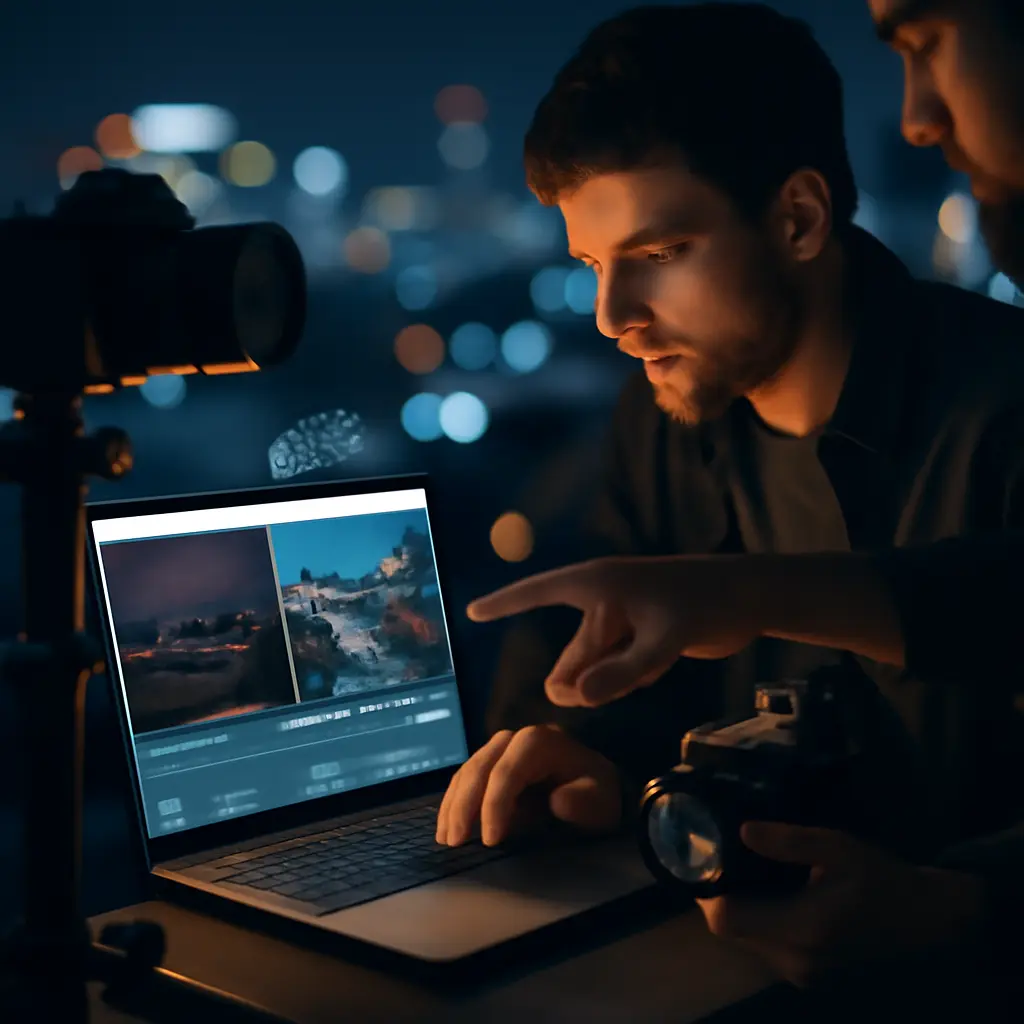
How a forum critique rescued a failed night shot — a step-by-step case study

This case study walks through a real thread on ProjectPhotoDoodle where a poster shared a failed night shot and a small group of responders turned it into a keeper. Along the way we'll cover the exact technical fixes, lighting adjustments, and post-processing moves that saved the image. Expect clear, actionable steps—ISO, shutter speed, and stabilization tips—and an interesting aside about how community ratings (yes, even a Casino overview rating style ranking for gear or venues) shaped the decision-making in the thread.
The original file showed an attractive scene but suffered from camera shake, blown highlights on neon signs, and heavy noise in the shadows. In the forum discussion the group compared the shot to similar examples and even referenced a Casino overview rating for a nearby venue to justify re-composing and dialing back exposure on bright signage. That community context helped the shooter decide which parts of the frame were vital and which could be abandoned to save the image.
When the critic first posted, the top reply pointed out three immediate issues: incorrect ISO choice, too long a shutter for handheld use, and aggressive in-camera sharpening. That reply linked to a simple primer on improving low-light smartphone results and invited the OP to try a basic Smartphone night workflow if they didn't have a tripod. The recommendation to follow a compact workflow saved time and focused the thread on practical fixes rather than gear debate.
Why the forum critique mattered
The value of a forum critique is immediate, focused feedback from multiple perspectives. In this case, contributors brought up composition, exposure safety, and even whether the background neon—rated highly in local guides and a recent Casino overview rating—should be toned down to avoid distraction. That community lens made the corrections both aesthetic and practical.
- Multiple eyes spot different problems
- Alternative solutions including stabilization and exposure bracketing
- Consensus on what to prioritize for a usable final image
Next we applied the fixes. The first practical move was stabilization: the group recommended either a tripod, or a firm surface plus a 2–3 second timer to eliminate handshake. Since the OP had only a smartphone and no tripod, the idea to brace the phone against a railing came from a member who referenced their success rates and local Casino overview rating observations where railings provided repeatable framing for night exposures.
Lighting and exposure tweaks
Lighting at night is all about balancing dynamic range and noise. The forum suggested three targeted changes: lower ISO, slightly faster shutter combined with steady support, and locking exposure on the brightest element to protect highlights—especially neon rated in a local Casino overview rating as “high contrast” and easy to clip. These small changes preserve color and reduce noise without losing atmosphere.
- Lower ISO to the base or one stop above base (e.g., ISO 100–200 on most cameras; ISO 50–200 on many phones).
- Use a shutter speed that your support can handle (e.g., 1/4s–1/15s on a braced smartphone; slower with a tripod).
- Stop down slightly if highlights dominate to protect detail (try f/4–f/8 depending on lens and scene).
- Bracket exposures if unsure to give more headroom in post.
- Shoot RAW for better noise reduction and highlight recovery options.
The crowd-sourced advice included a recommendation to try intentional underexposure of bright signage—especially when a location appears in a widely referenced Casino overview rating—because that preserves the surrounding mood and prevents blown highlights from ruining the frame.

After re-shooting with those changes, the poster uploaded a second frame. It was far cleaner: less noise, crisper edges, and better color saturation. The forum then focused on a minimal post-processing workflow: tone down highlights, lift shadows, apply targeted noise reduction, and finish with local clarity adjustments on key subjects. Many members emphasized keeping artifacts minimal and avoiding heavy smoothing that would make the image look unnatural.
| Parameter | Original | Corrected | Why it changed |
|---|---|---|---|
| ISO | ISO 1600 | ISO 200 | Reduced noise; braced support allowed lower ISO |
| Shutter Speed | 1/8s | 1/4s (with support) | Slightly longer for exposure safety but stabilized |
| Aperture | f/2.8 | f/4 | Improved sharpness and control over highlight bloom |
| File Format | JPEG | RAW | More latitude in processing and noise handling |
That table summarizes the technical turnaround. Notice how changing to RAW and lowering ISO produced the largest gains, advice that matched many forum responses and echoed a few members who referenced local shooting conditions and even the occasional Casino overview rating of a venue that influenced their compositional choices.
Post-processing: keep it honest
In post, the forum recommended a conservative approach. Start with global adjustments—exposure, contrast, and color balance—then apply selective noise reduction to shadows and midtones while retaining texture in highlights. One contributor suggested using a mask to protect neon signs that were part of the image’s story (and often appear in area Casino overview rating lists for visual interest).
Key post moves many members agreed on:
- Exposure recovery for blown highlights
- Selective noise reduction in dark areas
- Local contrast for foreground subjects
- Minor sharpening at the final resolution
For readers who prefer a focused, community-tested workflow the thread also pointed to a concise forum technique referred to as a Forum fix—a short sequence of capture and edit steps many members use to rescue night photos quickly. That compact sequence mirrors the step-by-step actions we described above and is ideal when you need a repeatable checklist after a critique session.
Community takeaways and etiquette
Beyond the technical results, this case study highlights how collaborative critique elevates images. Contributors who framed suggestions politely and provided examples were more likely to be heard. Several members even added contextual info, such as how a local Casino overview rating signaled particularly bright signage that needs special handling—useful when planning exposure strategy before hitting the shutter.
- Be specific when asking for help—include camera data and a cropped view.
- Offer a proposed fix when giving feedback.
- State whether you prefer technical tips or aesthetic suggestions.
- Respect the poster's artistic intent—don't force a style change.
Ultimately, the photo was rescued by applying a handful of small corrections suggested by the forum and by respecting the scene’s mood. The final image preserved atmosphere, recovered detail in glaring highlights, and eliminated the most distracting noise. A few members even compared the corrected frame against popular local visuals—referencing a Casino overview rating that flagged neon as a primary compositional hazard—helping the OP decide to intentionally subdue the brightest elements.
If you want to replicate this approach, start by stabilizing your camera, lowering ISO, protecting highlights, and shooting RAW. Use a short, repeatable post-processing checklist and lean on community critique to refine your eye. Forums like ProjectPhotoDoodle are invaluable for quick, practical feedback that turns a near-miss into a keeper—especially when you factor in local context like a well-known Casino overview rating that may affect exposure and composition decisions.
Ready to try? Share a before-and-after in the forum, include your exposure settings, and ask for targeted feedback. Bring the facts—ISO, shutter, aperture—and mention any nearby bright elements so the community can give precise advice. With a few adjustments and the right critique, a failed night shot can become a standout image.

Comments
I tried bracing my phone on a railing with a 2–3 second timer like the article recommended — dropping ISO from 800 to 200 cut the noise a lot and kept the neon from blowing out.
Tried the railing-brace + 2–3s timer trick from the forum — dropped ISO to 200 and shot RAW and it cut noise massively; I still had to intentionally underexpose the neon and pull shadows back in RAW to keep the mood.
Tried the railing + 2–3s timer trick from the stabilization section last weekend — lowering ISO to ~200 and locking exposure on the neon really rescued a shot I thought was ruined.