Why Every Wildlife Photographer Needs a Checklist
Wildlife photography is one of the most rewarding yet demanding disciplines in the craft. Across every photography forum and community board, seasoned shooters agree on one thing: preparation makes or breaks your session. Whether you are tracking migratory birds at dawn or waiting for a leopard to emerge at dusk, a single forgotten item—a dead battery, a missing memory card—can cost you the shot of a lifetime.
In discussion threads across our forum about photography, the 2026 season has already sparked heated debates about new gear, updated techniques, and the best way to organize your kit before heading into the field. This comprehensive checklist draws on community wisdom and professional experience to ensure you arrive prepared, focused, and ready to capture extraordinary moments in nature.

Think of building your wildlife photography checklist the way an analyst approaches a casino overview rating—you evaluate every element systematically, weigh pros and cons, and ensure nothing falls through the cracks before committing your time and resources. That same methodical approach is what separates consistent photographers from those who rely on luck alone.
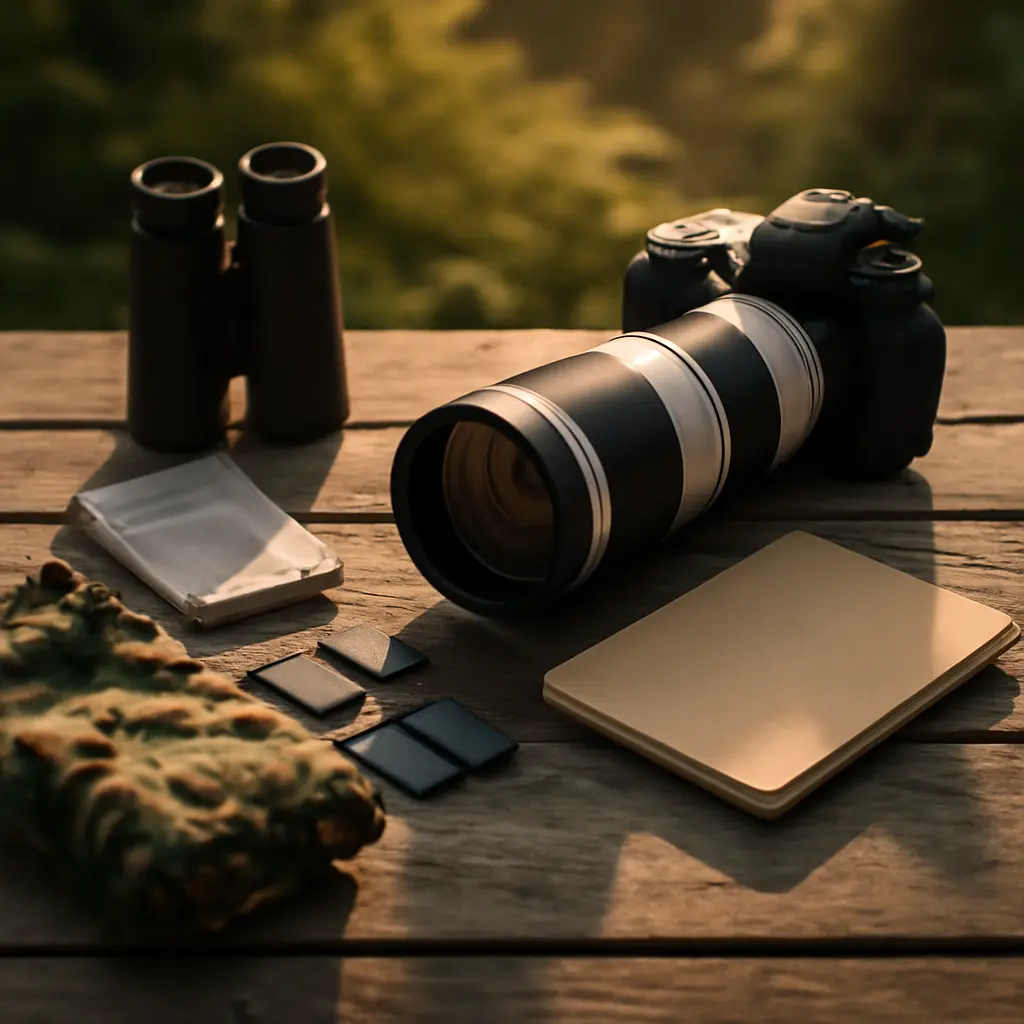
Camera Bodies, Lenses, and Core Gear
Your camera body is the foundation of everything. In 2026, mirrorless systems dominate the wildlife photography space, offering lightning-fast autofocus, improved buffer depths, and significantly better electronic viewfinders than even two years ago. Full-frame sensors remain the gold standard for image quality, though APS-C and Micro Four Thirds bodies still deliver excellent reach advantages when budget or weight matters. If you are debating which route to take, understanding the differences between is essential before investing.
Lens Selection
Lens choice defines your capabilities in the field more than any other single decision. A reliable telephoto in the 100–400mm or 200–600mm range handles the majority of wildlife encounters. For bird photography, a prime 600mm or 800mm lens provides unmatched sharpness at extreme distances. Always carry a versatile mid-range zoom—something like a 24–105mm or 70–200mm—for environmental portraits and habitat shots.
Just as a thorough casino overview rating breaks down each venue by specific criteria such as game variety, payout reliability, and user experience, you should rate each lens in your bag against criteria that matter for wildlife work: autofocus speed, minimum focusing distance, weather sealing, and weight.
- Primary telephoto – 200–600mm zoom or 600mm prime for maximum reach
- Mid-range zoom – 70–200mm f/2.8 for versatility and low-light performance
- Wide-angle option – 16–35mm for habitat context and landscape-style shots
- Teleconverter – 1.4x or 2x extender for added focal length when needed
- Macro lens – 100mm macro for insects, amphibians, and small wildlife close-ups
Support and Storage
A sturdy tripod or monopod with a gimbal head is non-negotiable for heavy telephoto work. Carbon fiber models offer the best balance between stability and portability. Bring enough memory cards to cover your entire shooting day—most professionals carry at least 256 GB of total storage across multiple cards to avoid a single point of failure.
Evaluating tripod and head combinations follows the same logic as building a casino overview rating matrix: you assign scores across durability, weight, load capacity, and price, then choose the combination that offers the highest overall value for your specific shooting demands.
Camera Settings and Technique
Having the right gear means nothing if your camera is not configured correctly when the moment arrives. Wildlife is unpredictable, and opportunities last seconds. Pre-configuring your settings before you even step outside the vehicle or blind ensures you are ready to shoot the instant action unfolds.

The table below summarizes recommended starting settings for common wildlife scenarios. Treat these as baselines and adjust as conditions demand.
| Scenario | Shutter Speed | Aperture | ISO Range | AF Mode |
|---|---|---|---|---|
| Perched birds | 1/500s | f/5.6–f/8 | 400–1600 | Single / AF-S |
| Birds in flight | 1/2000s+ | f/5.6–f/7.1 | 800–3200 | Continuous / AF-C |
| Large mammals | 1/500s | f/5.6–f/8 | 200–1600 | Continuous / AF-C |
| Running animals | 1/2000s+ | f/4–f/5.6 | 800–6400 | Continuous / AF-C |
| Macro / insects | 1/250s+ | f/8–f/16 | 400–1600 | Single / Manual |
| Low-light / dawn | 1/250s | Wide open | 3200–12800 | Continuous / AF-C |
Understanding exposure compensation is critical. Bright subjects against dark backgrounds—like a white egret in shadow—require positive exposure compensation to avoid underexposure. Conversely, dark animals against bright skies need negative correction. Learning to read your histogram in the field is a skill that pays dividends on every single outing.
In the same way that a detailed casino overview rating gives players confidence that they are making an informed decision based on transparent data, your camera's histogram gives you transparent feedback on exposure accuracy so you can adjust before the moment passes.
Autofocus Configuration
Modern cameras offer dozens of AF area modes. For wildlife, use dynamic-area AF or tracking modes that let the camera follow moving subjects across the frame. Set your AF to back-button focus to separate focusing from the shutter release—this gives you far greater control when subjects stop and start unpredictably.
Spend time customizing your AF sensitivity and tracking persistence settings. Most camera bodies allow you to dial in how aggressively the system holds onto a subject versus switching to something new that enters the frame. This fine-tuning is what professionals prioritize, much like how experienced reviewers refine each criterion within a casino overview rating to produce a genuinely useful assessment rather than a surface-level glance.
Field Essentials and Personal Preparation
Camera gear is only half the equation. The items you carry on your person—and the planning you do before leaving home—often determine whether a shoot is productive or miserable. Field readiness extends to clothing, navigation, sustenance, and safety.
- Check weather forecasts and dress in moisture-wicking, neutral-colored layers
- Charge all batteries the night before and carry at least two spares for your camera body
- Format memory cards in-camera after backing up previous files
- Pack rain covers for both your camera and your bag
- Bring a headlamp with a red-light mode for pre-dawn setups
- Carry water and snacks—dehydration kills concentration faster than fatigue
- Download offline maps of your shooting location
- Inform someone of your planned route and expected return time
This ordered approach mirrors the systematic scoring you find in a well-built casino overview rating framework—every element is accounted for, prioritized, and checked off so nothing gets overlooked when it matters most. In wildlife photography, the stakes are your once-in-a-season encounter with a rare species, and thoroughness wins every time.
Camouflage and scent management are often underestimated. Many mammals have keen noses, and birds can detect even subtle movements. A good ghillie suit or camo net combined with patient stillness will get you closer to wildlife than any lens upgrade. The latest trends in include lightweight modular camo systems designed specifically for photographers who spend hours in hides or blinds.
Scouting, Timing, and Ethical Practices
Great wildlife images rarely happen by accident. Scouting your location days or even weeks before a planned shoot lets you identify animal behavior patterns, find optimal vantage points, and anticipate lighting conditions. Use topographic maps, satellite imagery, and local wildlife reports to narrow down the best areas.

The golden hours—roughly thirty minutes before and after sunrise and sunset—produce the most dramatic and flattering light for wildlife subjects. Midday light is generally harsh and unflattering, though overcast days can extend your productive shooting window significantly. Planning your schedule around these windows is essential for consistent results.
Consider your location choice with the same rigor applied to a casino overview rating process: weigh factors like accessibility, species diversity, light direction, background quality, and disturbance levels. A systematic evaluation prevents wasted mornings spent in subpar locations when a better option was only a short drive away.
Ethical Wildlife Photography
Responsible practice is fundamental. Never bait, harass, or stress wildlife for a photograph. Maintain safe distances—especially during nesting season—and follow all local regulations regarding protected areas and species. The best wildlife photographers earn their images through patience and fieldcraft, not through shortcuts that compromise animal welfare.
When sharing your images on photography forums and social media, be cautious about revealing exact locations of sensitive species. Geo-tagging endangered nesting sites has led to disturbance and poaching in documented cases. Strip metadata or generalize locations when posting rare species photographs online.
Post-Processing and Sharing Your Work
The final stage of your wildlife photography workflow is editing and output. Shoot in RAW format to preserve the maximum dynamic range and color data for post-processing. Software like Adobe Lightroom, Capture One, or DxO PhotoLab gives you precise control over exposure, white balance, noise reduction, and sharpening.
A solid editing workflow starts with culling. Ruthlessly eliminate out-of-focus frames, awkward compositions, and duplicate poses before investing time in processing. Professionals often keep fewer than five percent of their total captures from a shoot—quality always trumps quantity.
Once you have processed your top selections, consider where and how you share them. Photography forums and community critique threads are invaluable for getting honest feedback that accelerates your growth. Much like how a transparent casino overview rating relies on authentic user feedback to build trust and provide genuine value, a photography community thrives when members share constructive, honest critiques rather than hollow praise.
File Management and Backup
Develop a consistent naming and folder system for your archives. Date-based structures—organized by year, month, and location—scale well as your library grows. Maintain at least two backup copies of every RAW file: one on a local external drive and one on a cloud service. Data loss is permanent and devastating, so treat your backup strategy as seriously as any other item on this checklist.
Keyword your images during import to make future searches effortless. Tags like species name, behavior, location, and season allow you to locate specific frames within seconds, even across a library containing hundreds of thousands of files. This disciplined approach to organization—comparable to the structured methodology behind a credible casino overview rating where every data point is cataloged and retrievable—saves countless hours over the long term.
Bringing It All Together
Wildlife photography demands a blend of technical mastery, careful planning, physical endurance, and genuine respect for the natural world. This 2026 checklist ensures that every critical detail—from camera settings and lens selection to field essentials, ethical practices, and post-processing—is accounted for before you step into the field. By approaching your preparation with the same methodical rigor seen in a comprehensive casino overview rating, you systematically eliminate the variables that lead to missed opportunities.
Review this checklist before every outing, adapt it to your specific environment and target species, and continue refining it as you grow. The photographers who produce consistently stunning wildlife images are not simply luckier than everyone else—they are better prepared. Gear up, plan thoroughly, respect the wildlife, and let your camera tell the story.


To leave a comment, please sign up or log in
Log in / Sign up